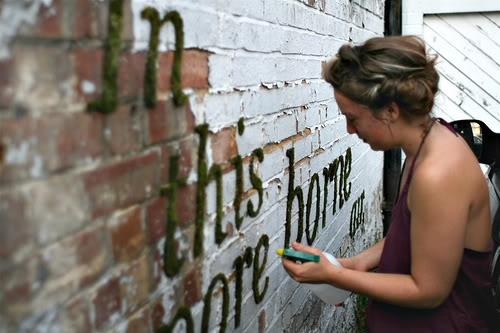
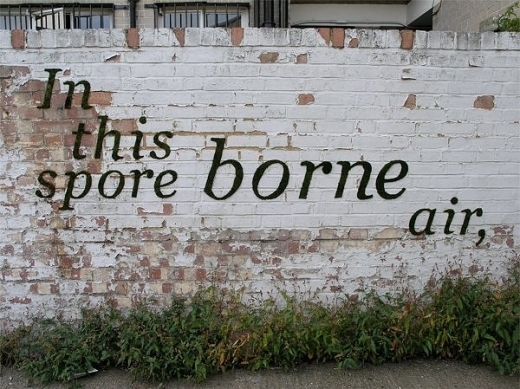
Looking to plan some fun “green” art projects for the spring? Grow your own Moss Graffiti! Check out environmental artist Anna Garforth for inspiration!
Materials:
Moss
Blender
Sugar
Butter Milk
Water
Container
Paint Brush
- Decide on an image and transfer it onto the wall in chalk. You could use a stencil or draw freehand. If you have access to use an overhead projector, that works great for tracing images onto surfaces such as a wall or canvas.
- Collect a handful of moss. Once you start looking for it you’ll see it everywhere! Such as under shady trees. (If you can’t find any moss outdoors, ask your local florist for recommendations, or possibly even your local hardware store.)
- Wash as much of the dirt and plant particles off the underside of moss, removing as much soil out from the roots as possible.
- Place the moss into the blender.
- Add a table spoon or two of sugar and 1/2 cup of butter milk.
- Blend to the consistency of a milkshake. Add some water if your mixture appears too thick. (You’ll want it to have a paint-like texture.)
- Pour mixture into a container with a lid.
- Using a paint brush, paint on the moss mixture onto the wall in the shape of your image.
- Keep the additional moss mixture in the refrigerator. Reapply the moss mixture every second day and on the alternative day spritzing the area with water.
Additional Notes: After a week, expect to see the moss establish itself on the wall. It will take about a month until it’s fully established. Also, try and choose a wall that isn’t exposed to long periods of direct sunlight.
tips via apartment therapy, and wikiHow

